따라한 출처 :
하우투: 같이 따라하기 시리즈
회사에서는 월급 받고 집에서는 취미로 코딩하는 개발자
devinlife.com
내 컴퓨터는 다음과 같다.

git과 ruby 가 설치되어있는지 확인한다.
git
ruby -v

jekyll 설치
sudo gem install jekyll bundler
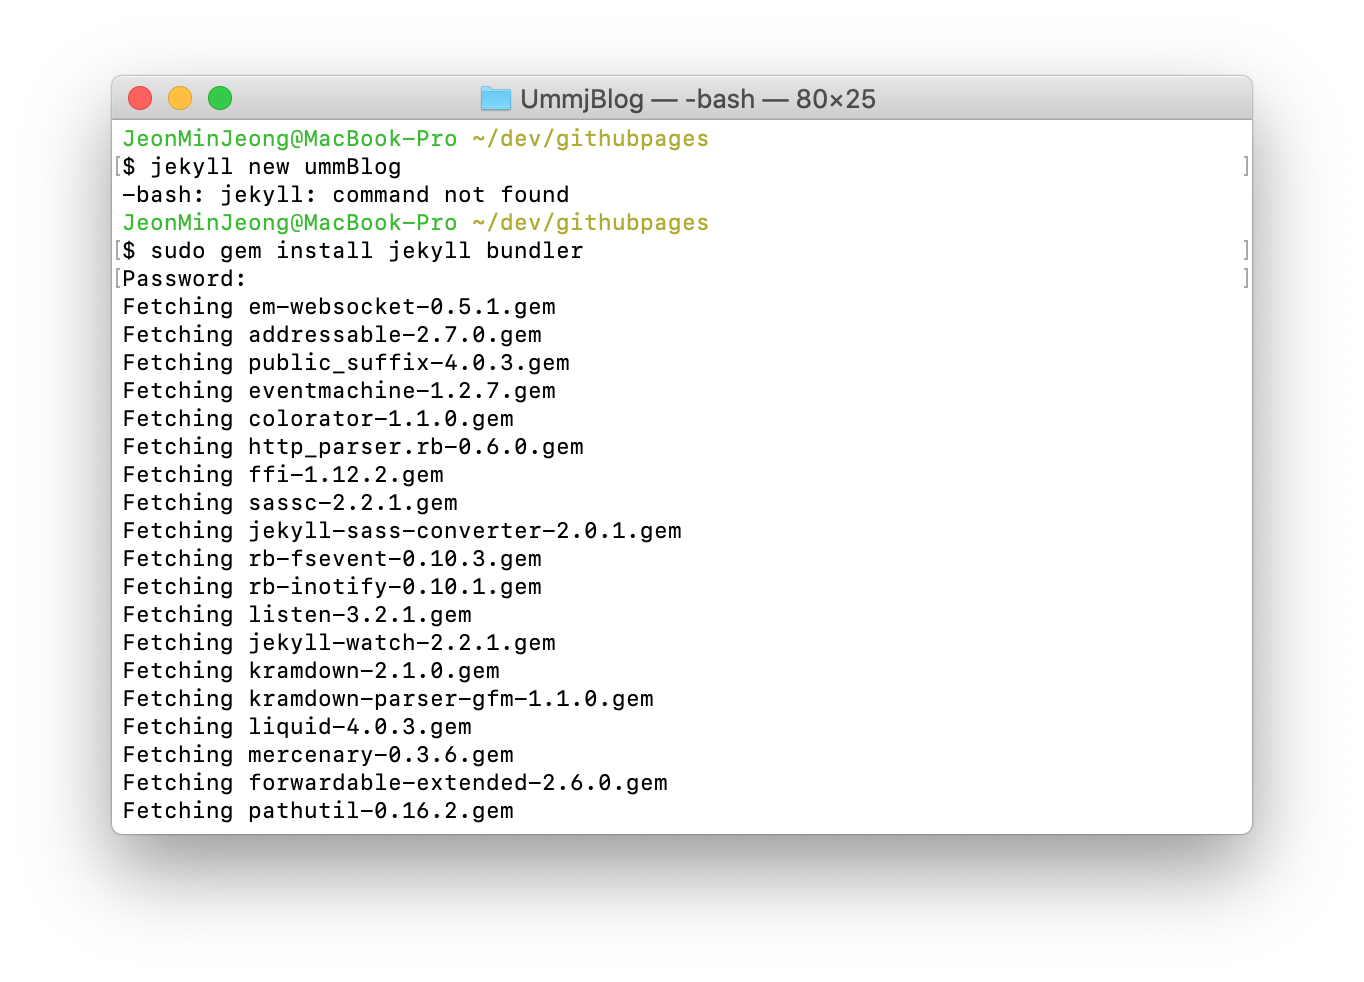
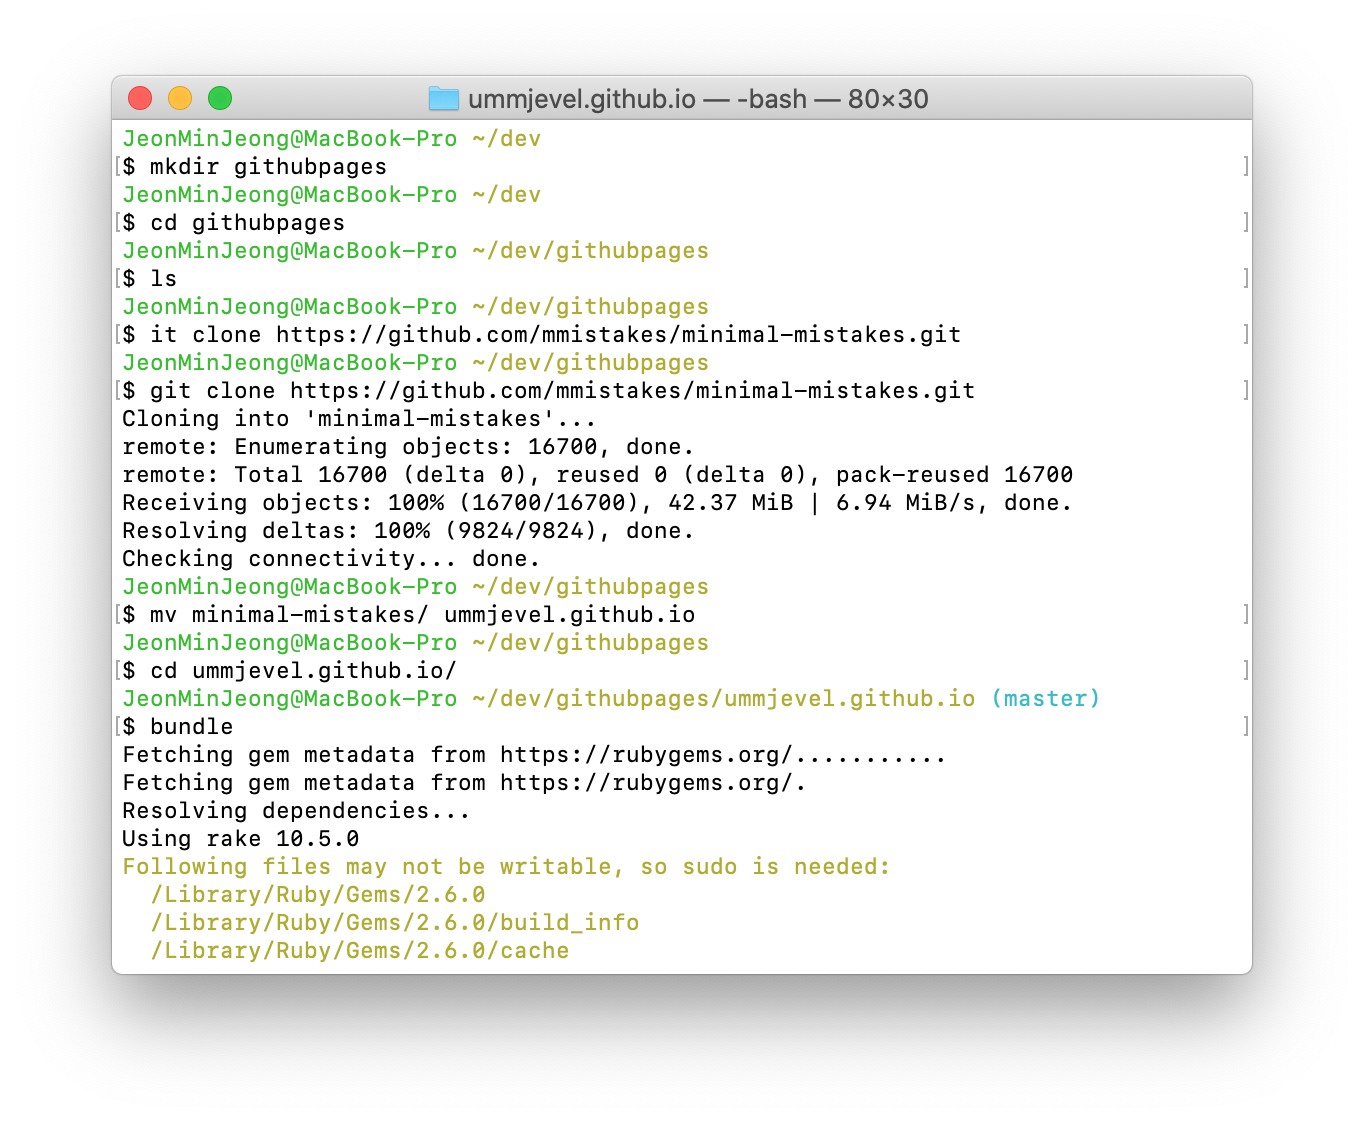
mkdir [폴더명]
cd [폴더명]
git clone [thema git 주소]
mv [thema 받은 폴더명] [바꿀 폴더명(userid.github.io)]
cd [userid.github.io]
bundle
bundle exec jekyll serve
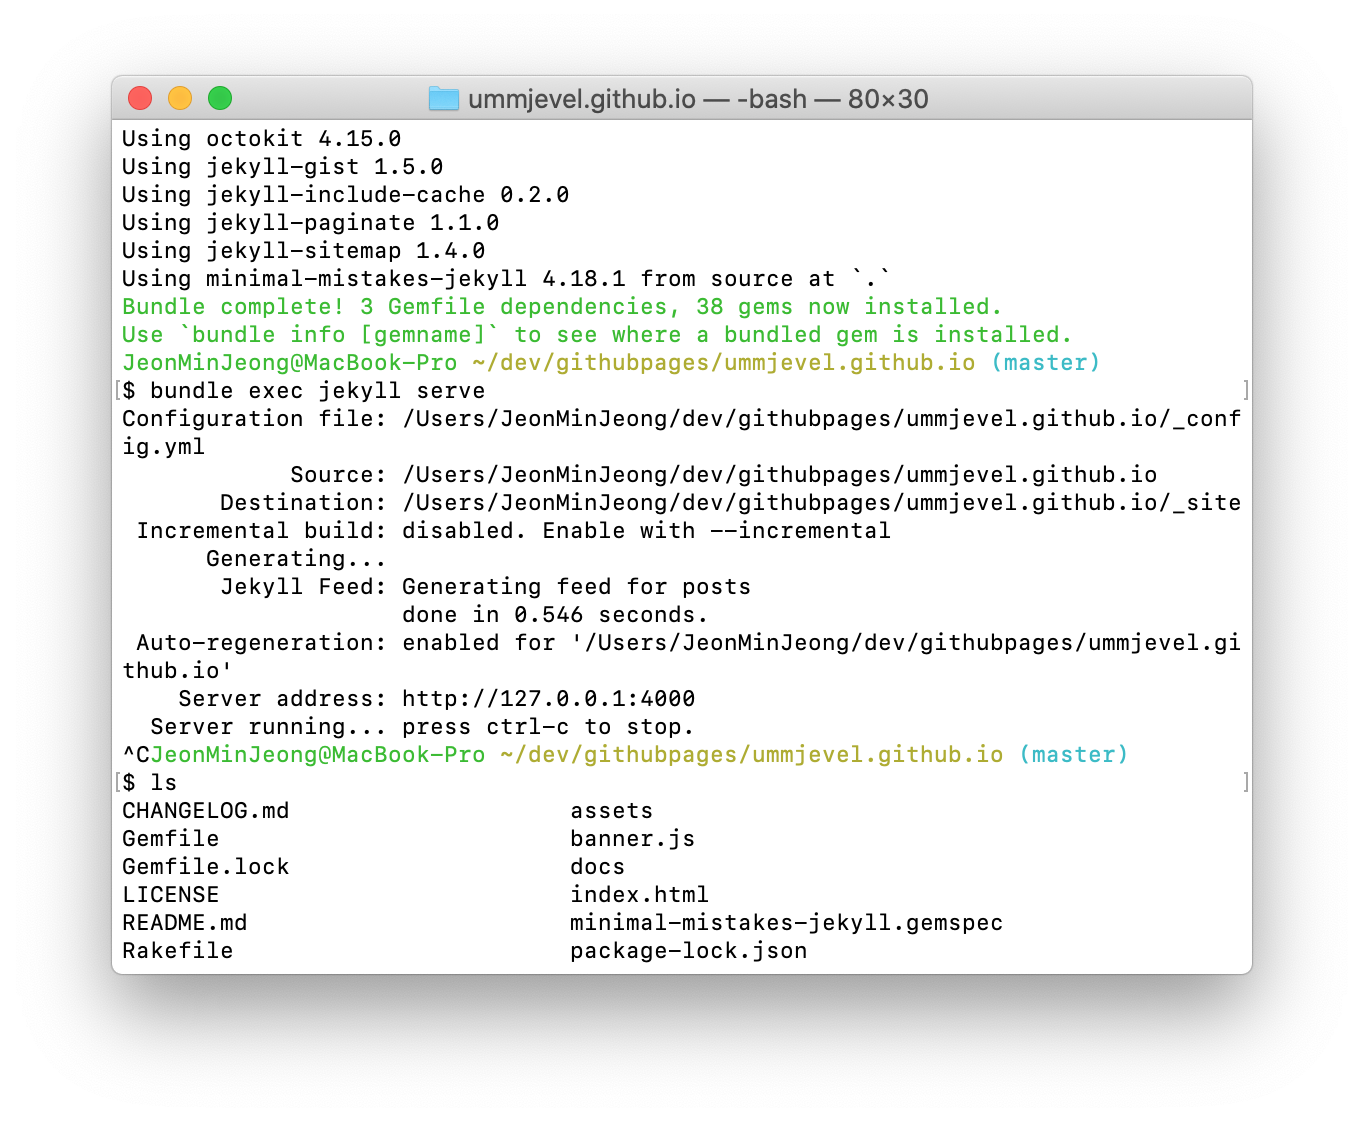
http://127.0.0.1:4000
브라우저에서 접속되어야한다.
ctrl + c 해서 취소하고
remote 를 옮겨준다
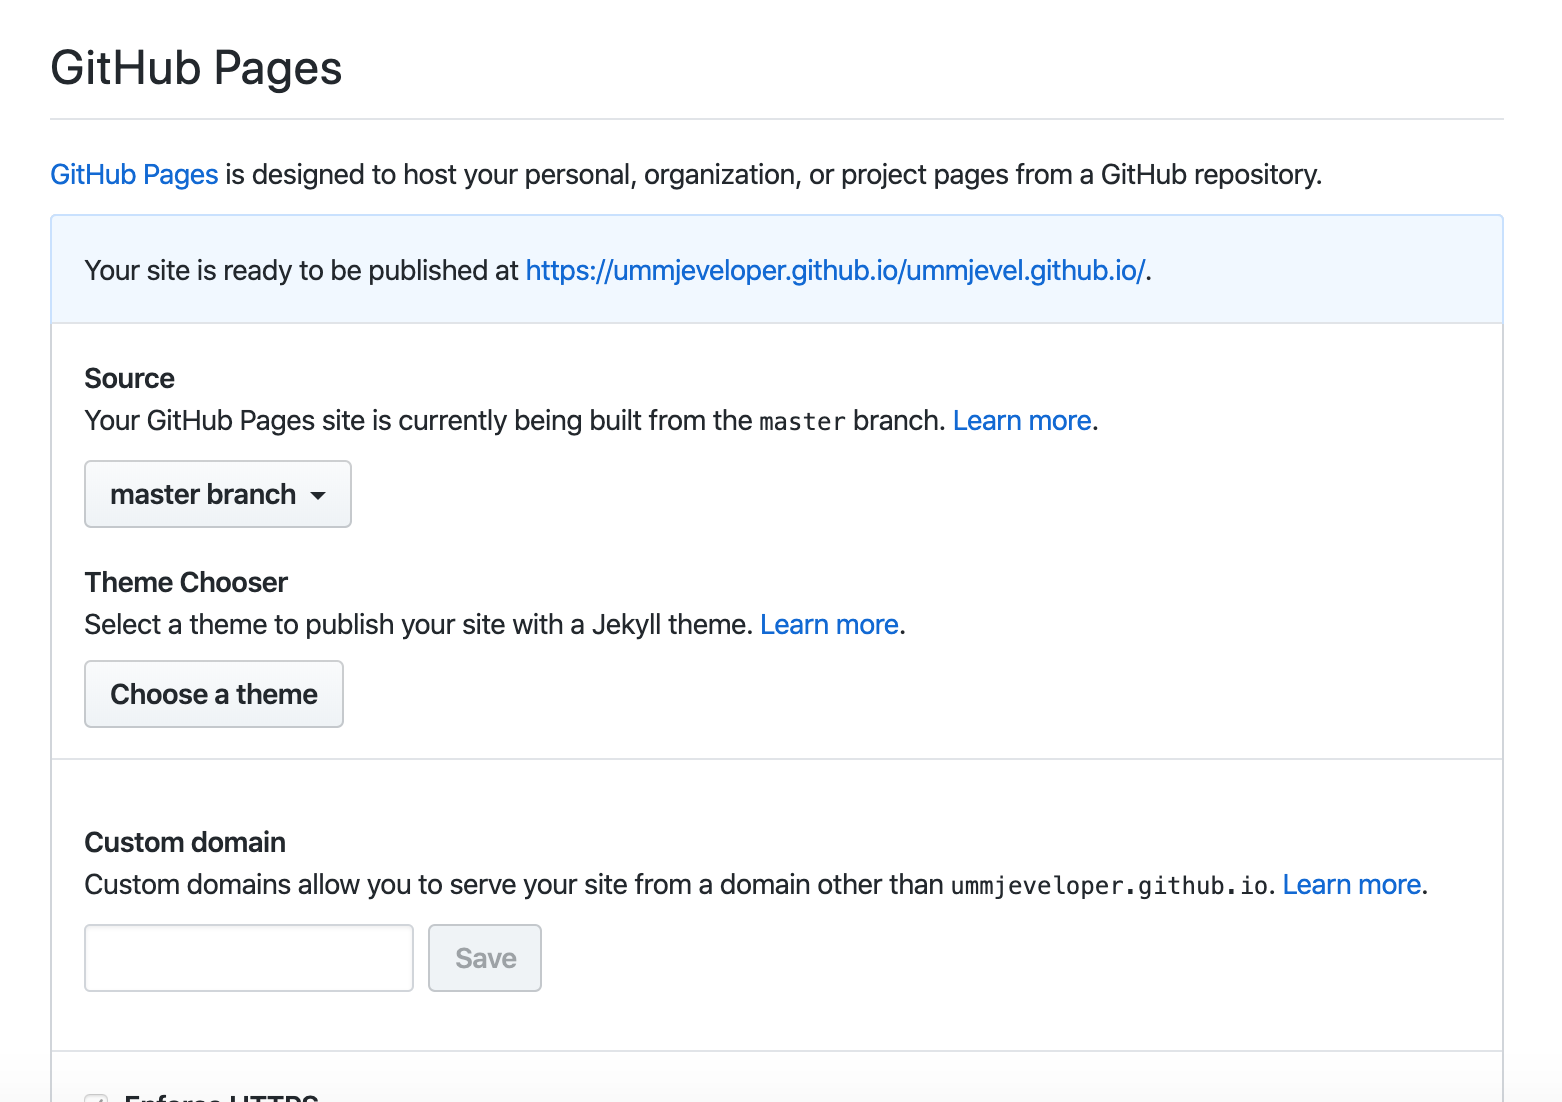
github에 가서 repository를 생성한다.

여기서 중요한 게 있다.
repository name 을 userid.github.io 로 할 것.
나의 아이디는 ummjeveloper 인데 아래 사진처럼 ummjevel.github.io 로 하면

이렇게 url 이 의도치않게 나온다.
https://ummjeveloper.github.io/ummjevel.github.io/
다른 블로그와 가이드들을 보면 그대로만 나오게 되었는데 여기서 한참 헤맸었다.
git remote remove origin
삭제되었는지 확인
git remote -v
git remote add origin [git repository 주소]
바뀌었는지 확인
git remote -v

_posts 폴더 만들고 들어가서 .md 파일 생성

내용은 아래와 같이 입력했다.

저장 후 commit, push
시간이 조금 지나면 아래와 같이 보여진다.
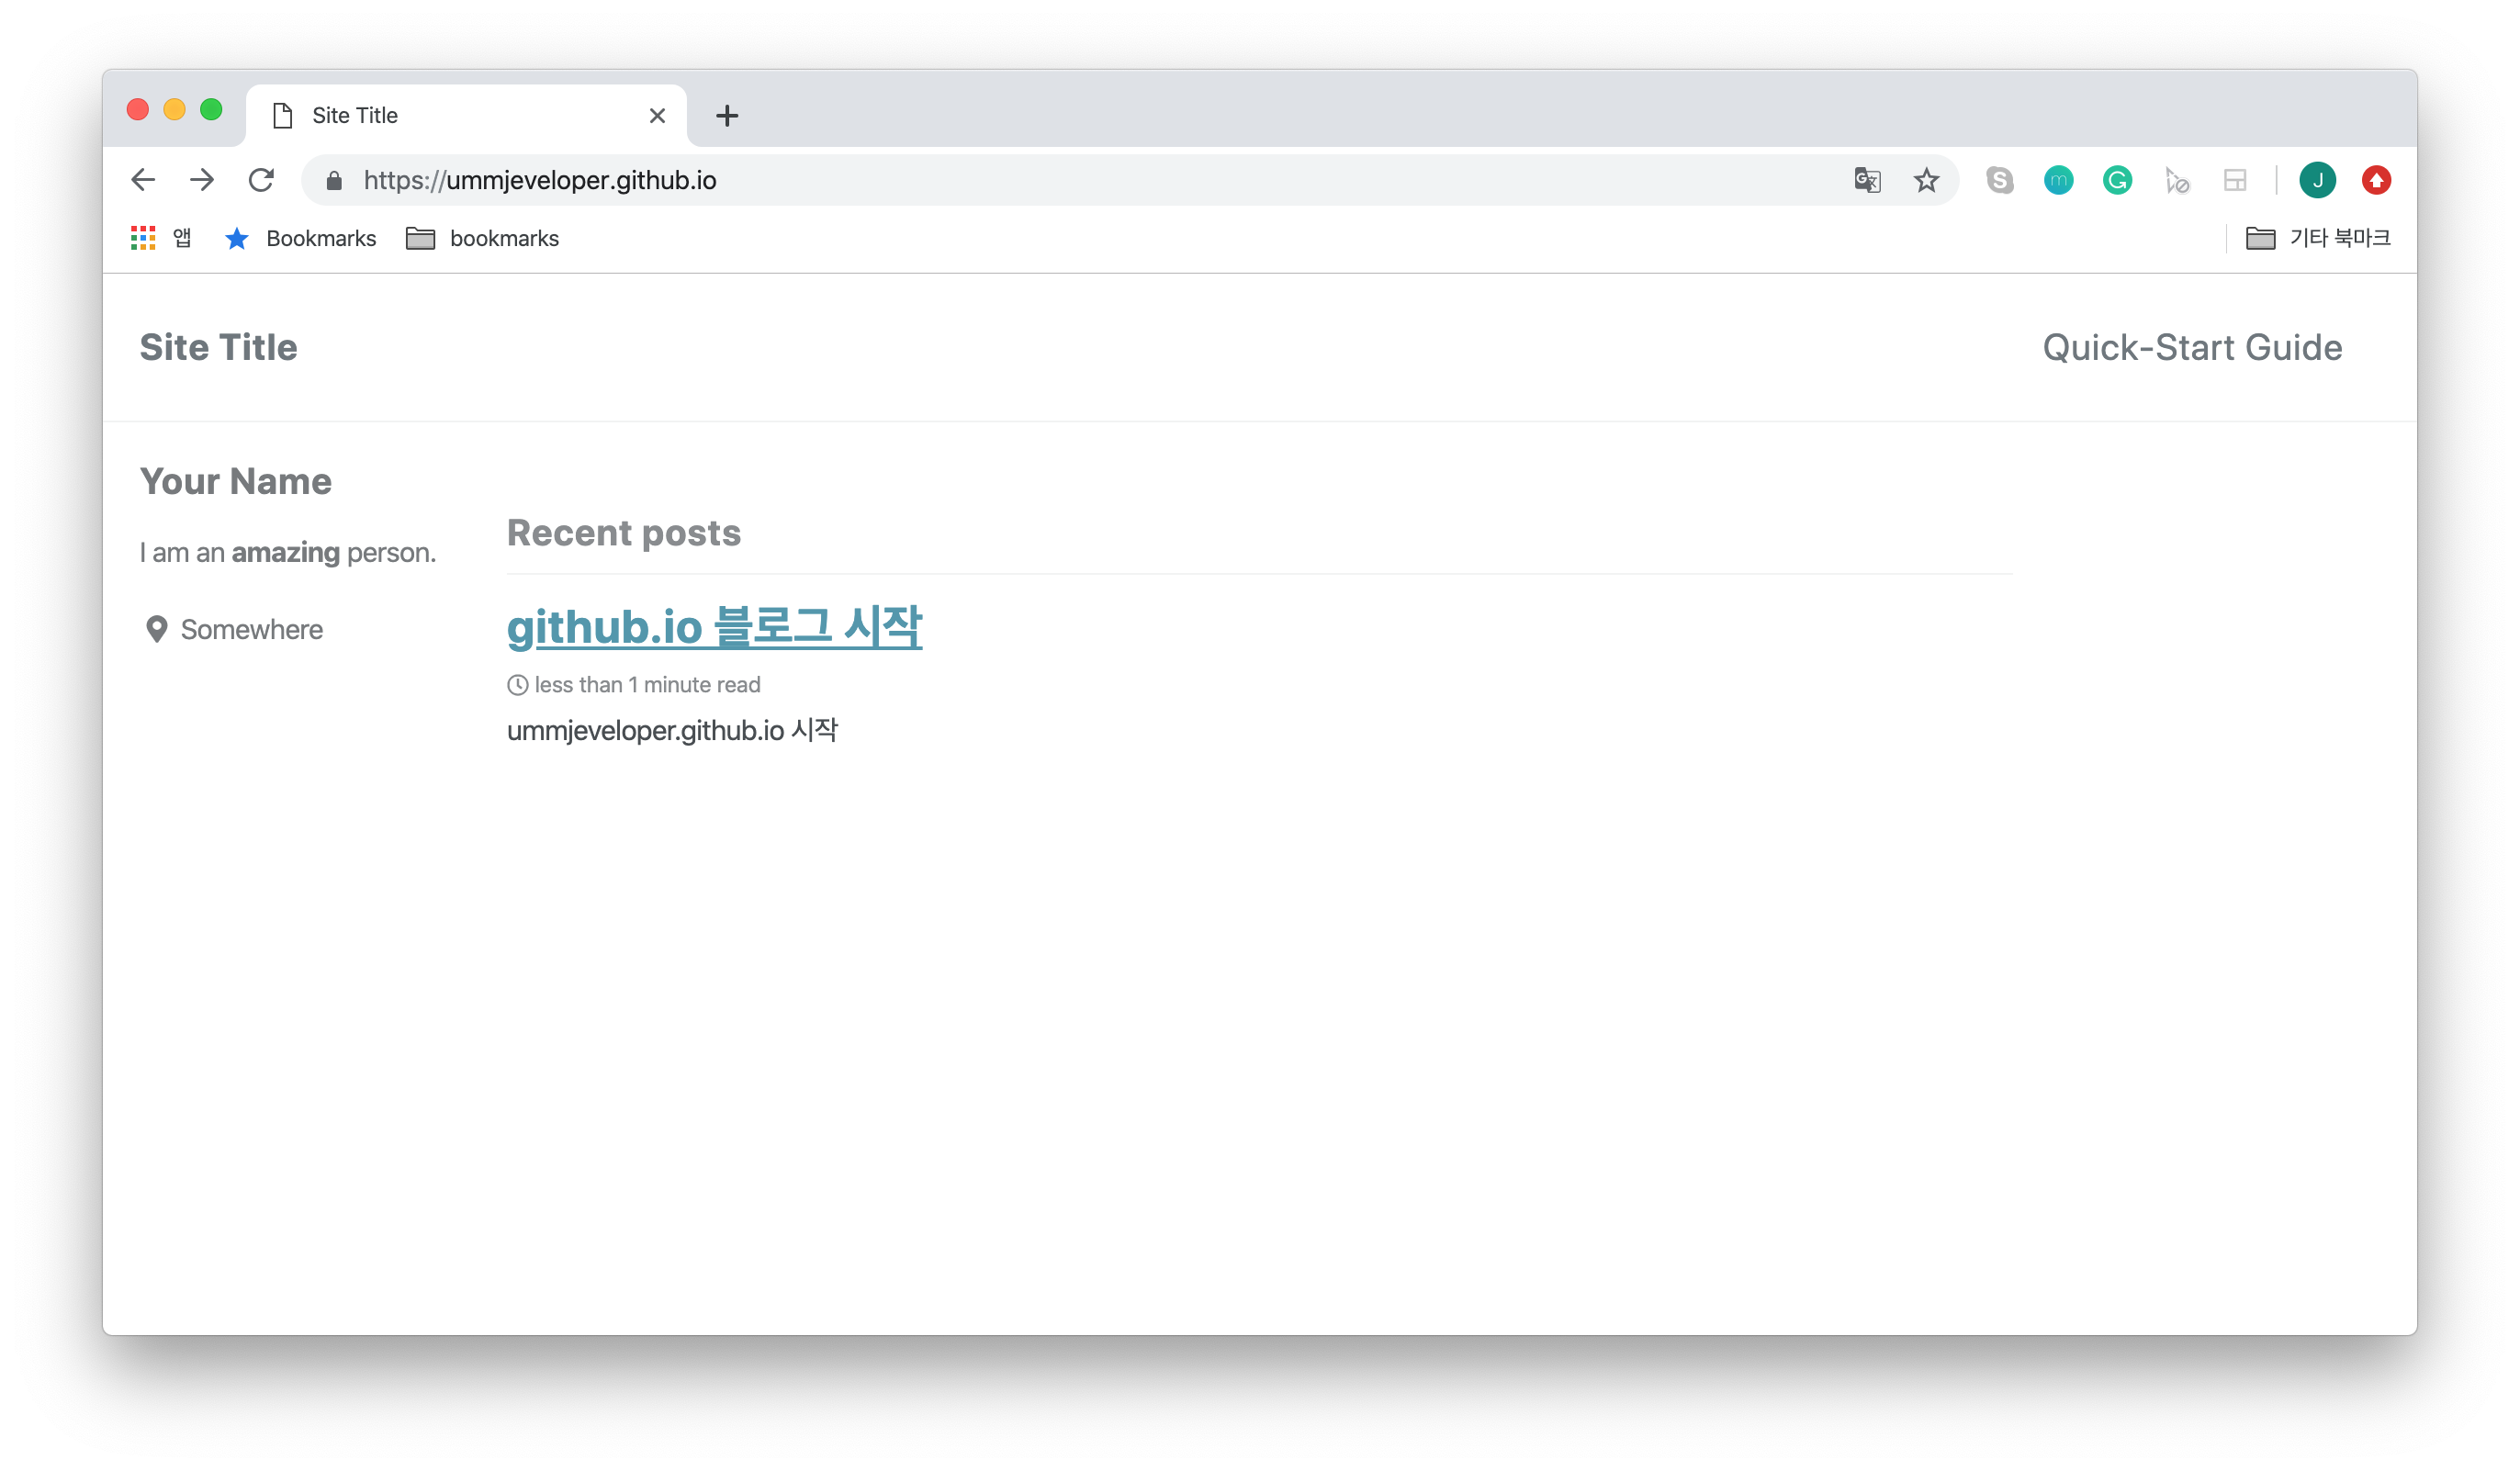

한가지 해결하지 못한 의문점은 master branch 에 커밋을 다 하고 파일이 있음에도 찾지 못한다.

설치부터 블로그 글작성까지 걸린 시간 : 3시간.
'개발' 카테고리의 다른 글
| [Pytorch] DataLoader error (0) | 2020.03.19 |
|---|---|
| git tutorial (0) | 2020.02.08 |
| flutter vscode 로 build (0) | 2020.01.27 |
| install tensorflow on mac using virtualenv (0) | 2019.11.19 |
| 구글 클라우드 스터디잼 # 1 - Introduction to Docker (0) | 2019.08.02 |
