
web-inf 폴더 만들고 거기에 하도록 해야하는데 그건 조금 있다가 설정하고 일단 vue.js 를 빨리 붙여봐야겠다.
설치
4. vue-cli
vscode 에서 view > terminal 에서 아래 명령어 입력하여 설치
(1) 에서 설치한 npm을 이용한다.
npm i -g @vue/cli업데이트 하라고 해서 해준다.
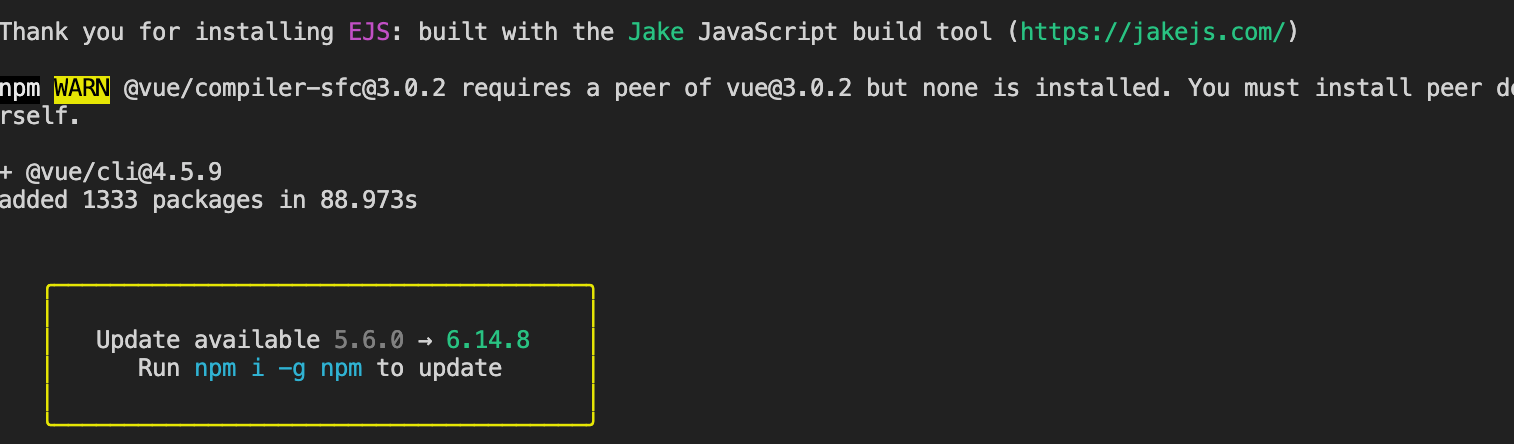
npm, node 업데이트 해줘라
$ npm i -g npm
$ node -v
$ sudo npm cache clean -f
$ sudo npm install -g n
$ sudo n stable
$ node -vsrc 폴더 들어가서 vue 프로젝트 생성. 이름은 frontend 라고 했다
$ vue create frontend
보여지는 대로 해본다
cd frontend
npm run serve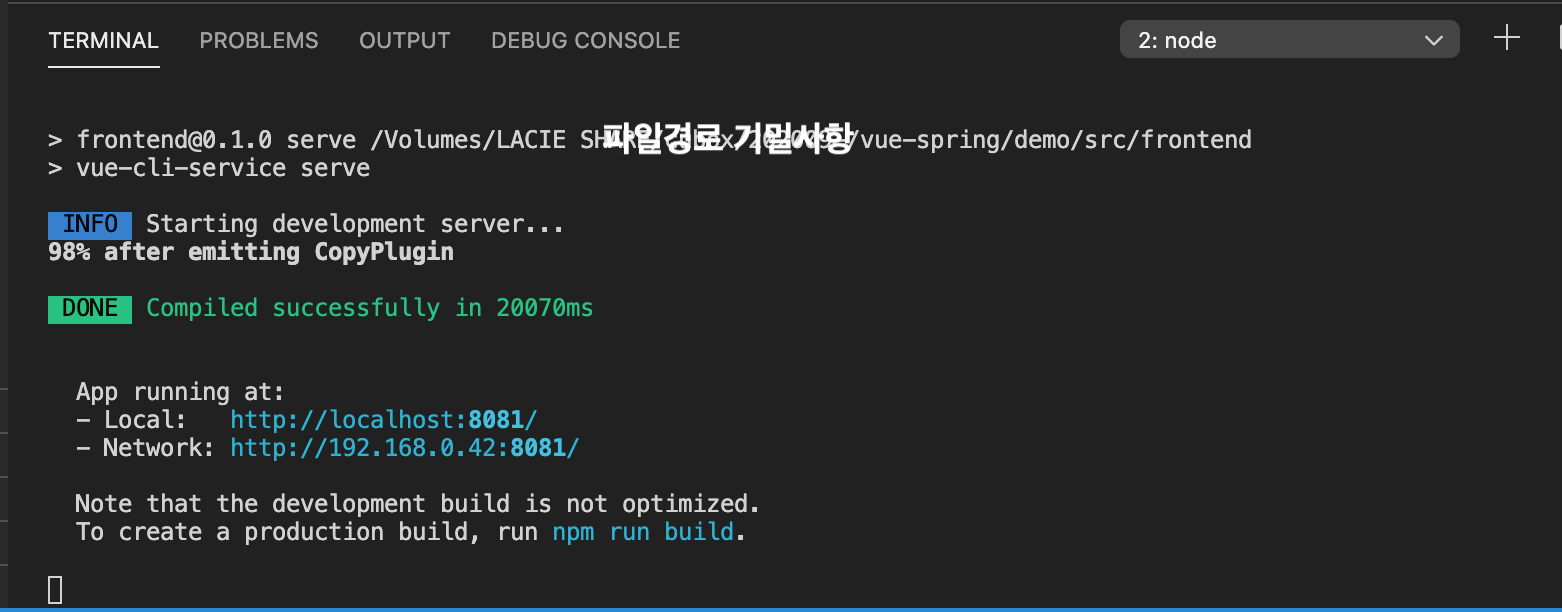
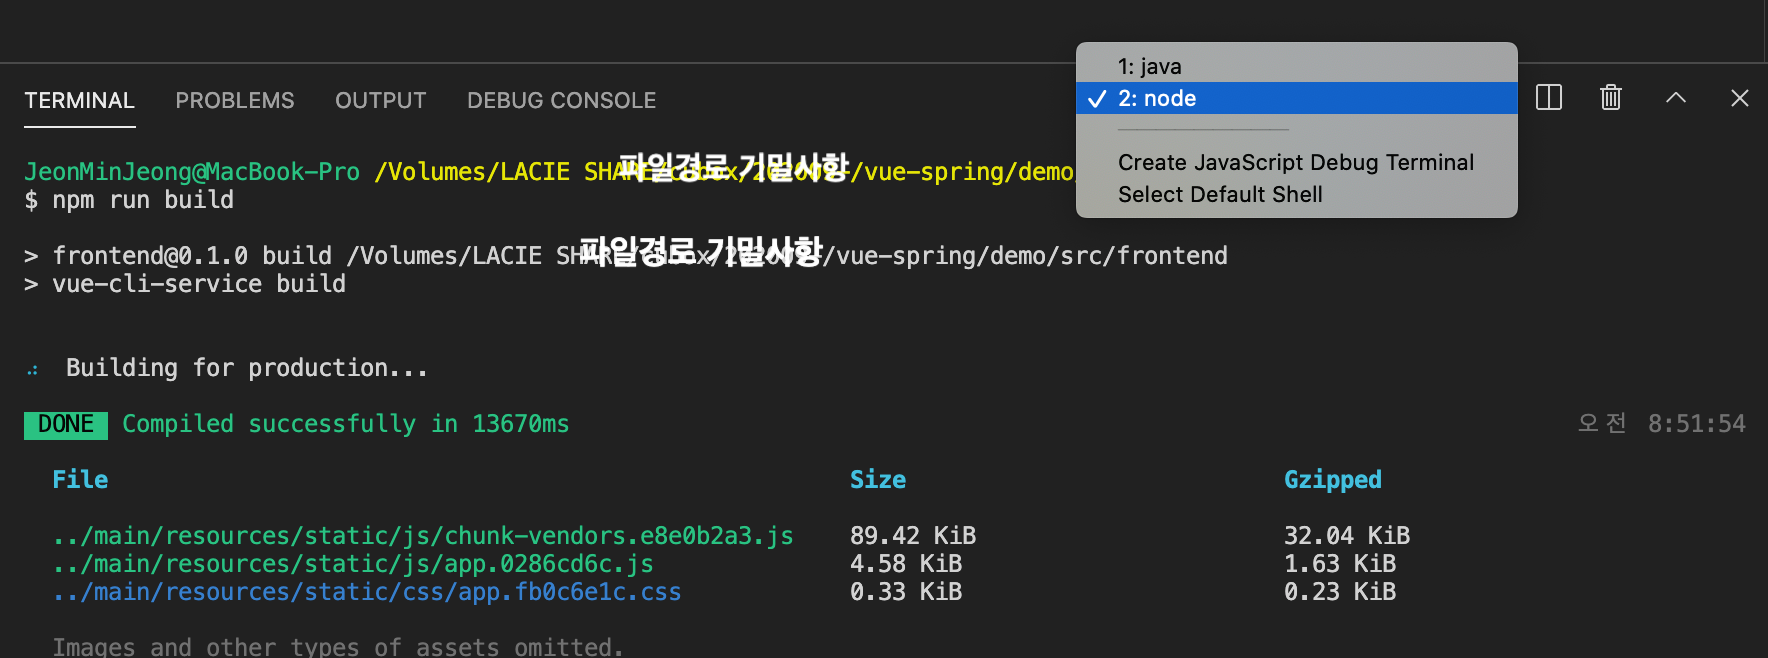
이제 빌드를 해본다
npm run build
빌드까지 했다
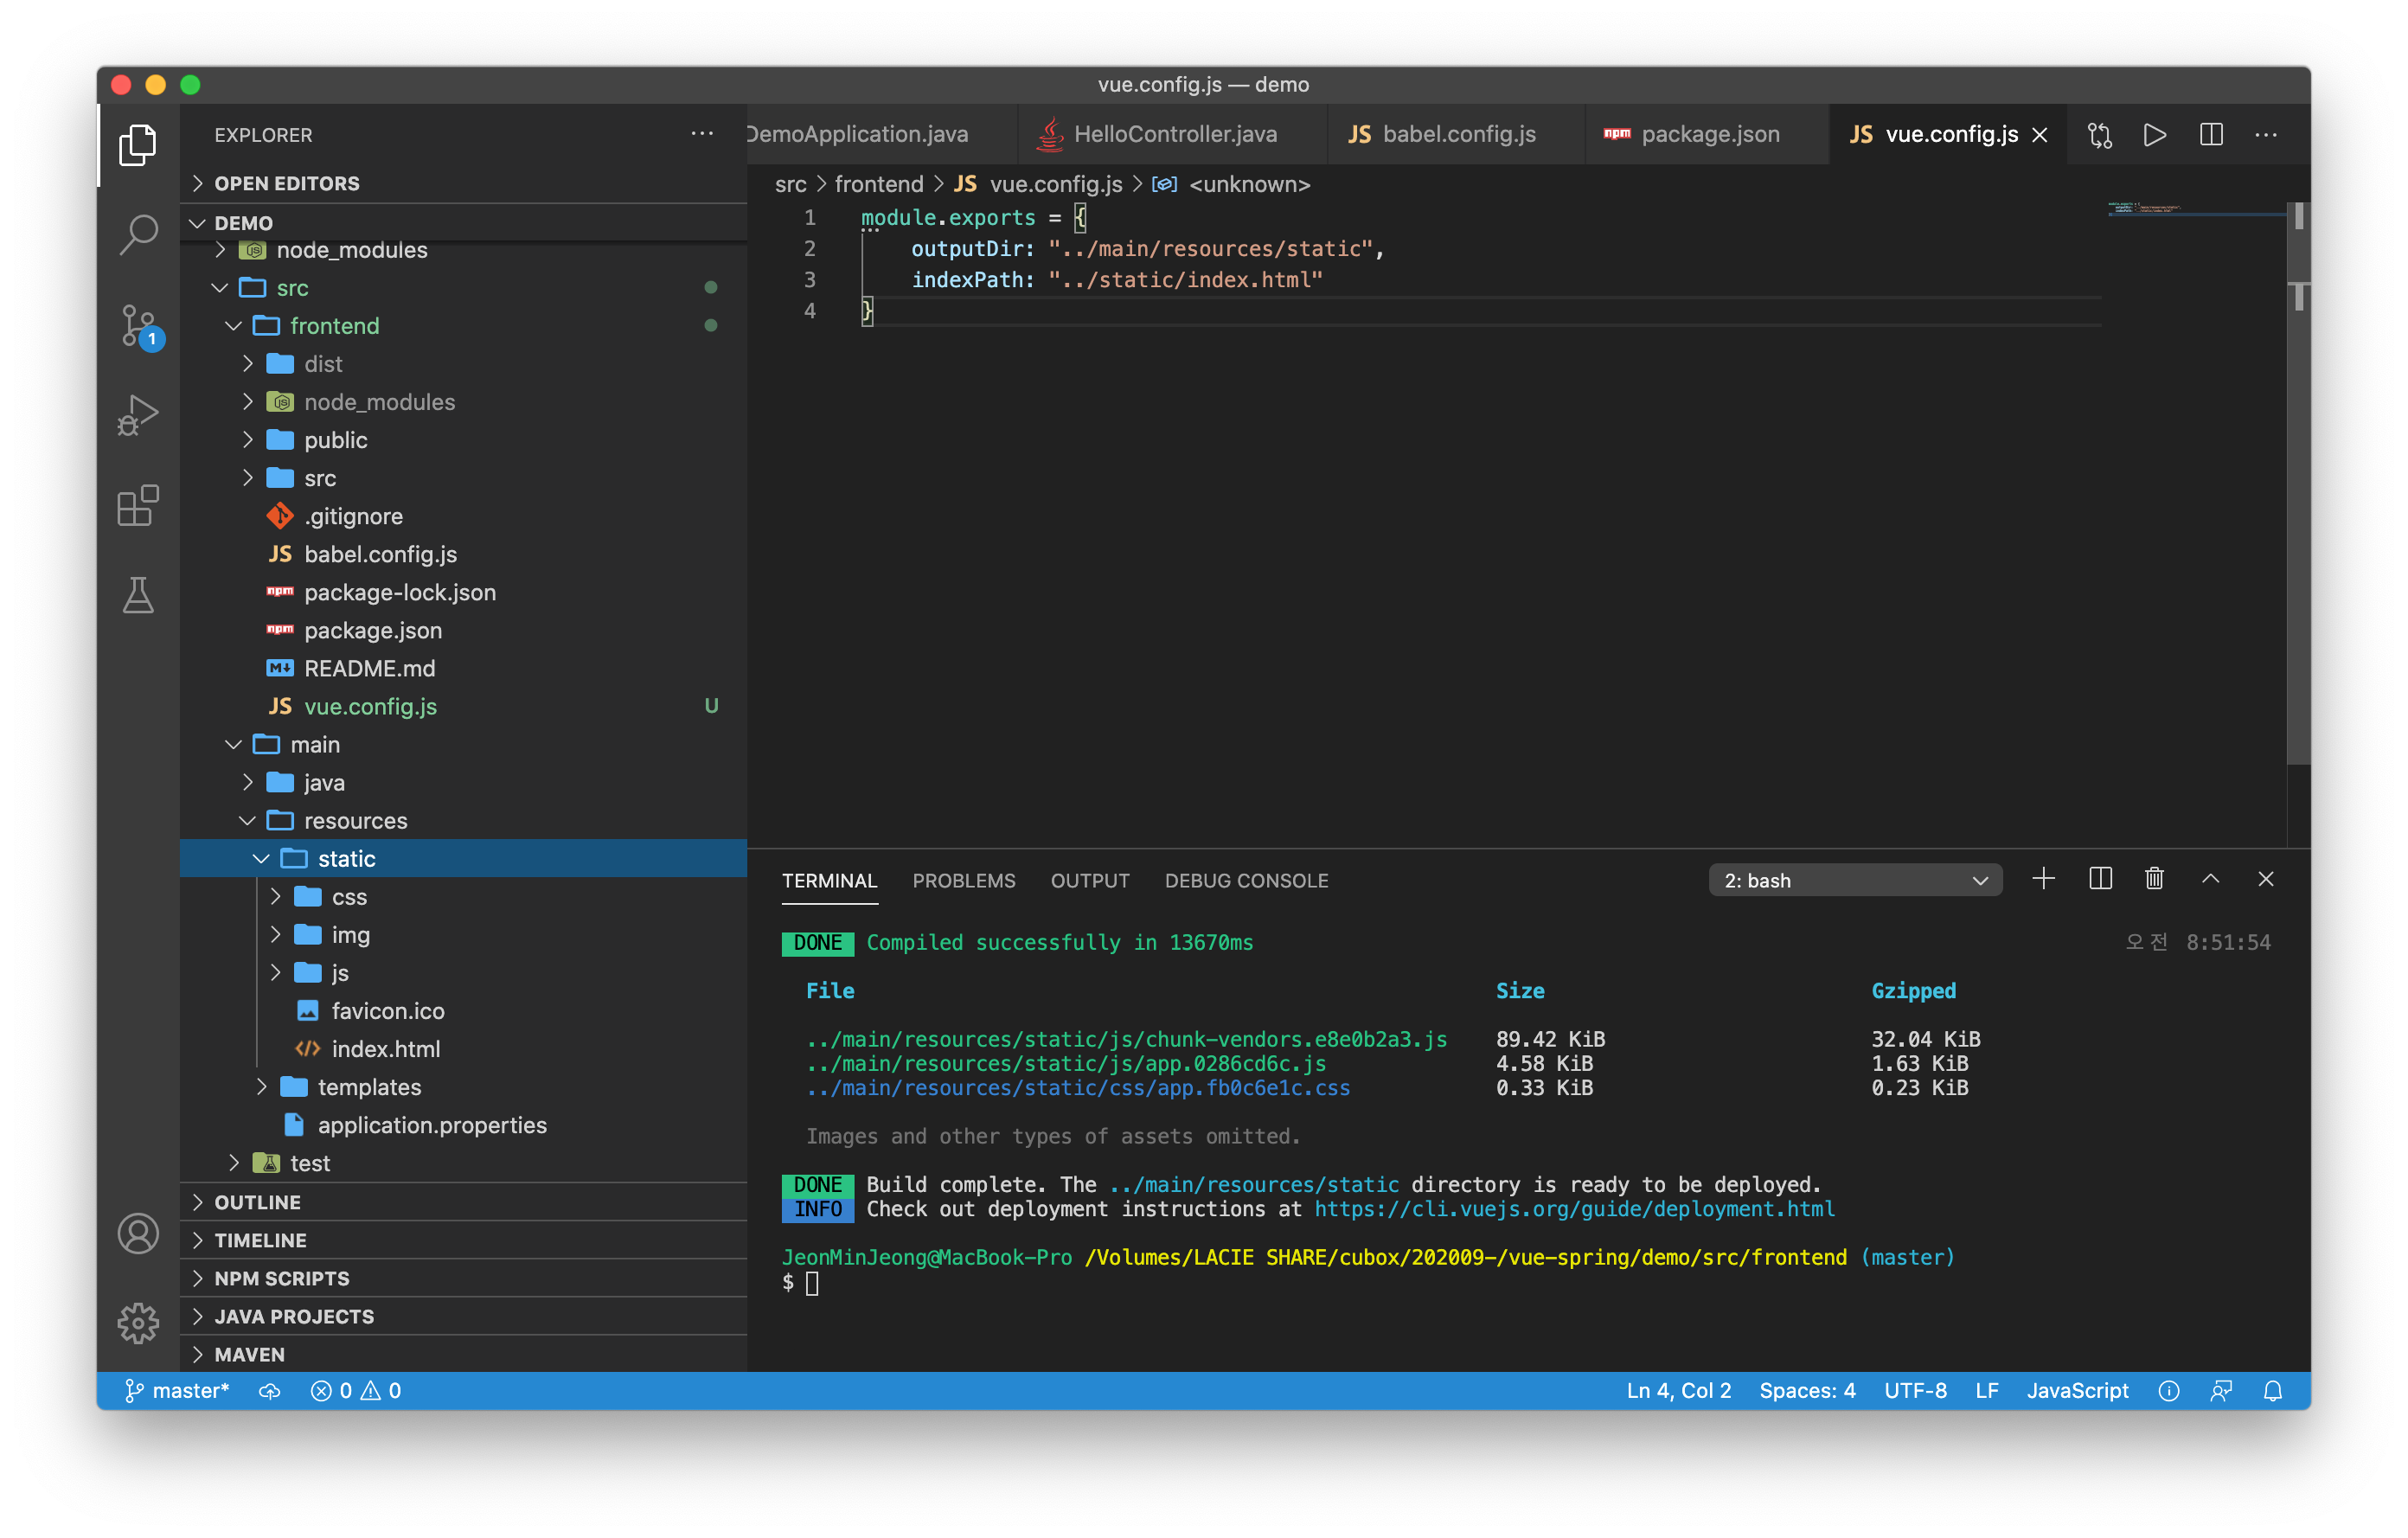
frontend 폴더 하위에 vue.config.js 파일을 아래의 내용으로 만든 후 다시 빌드하면
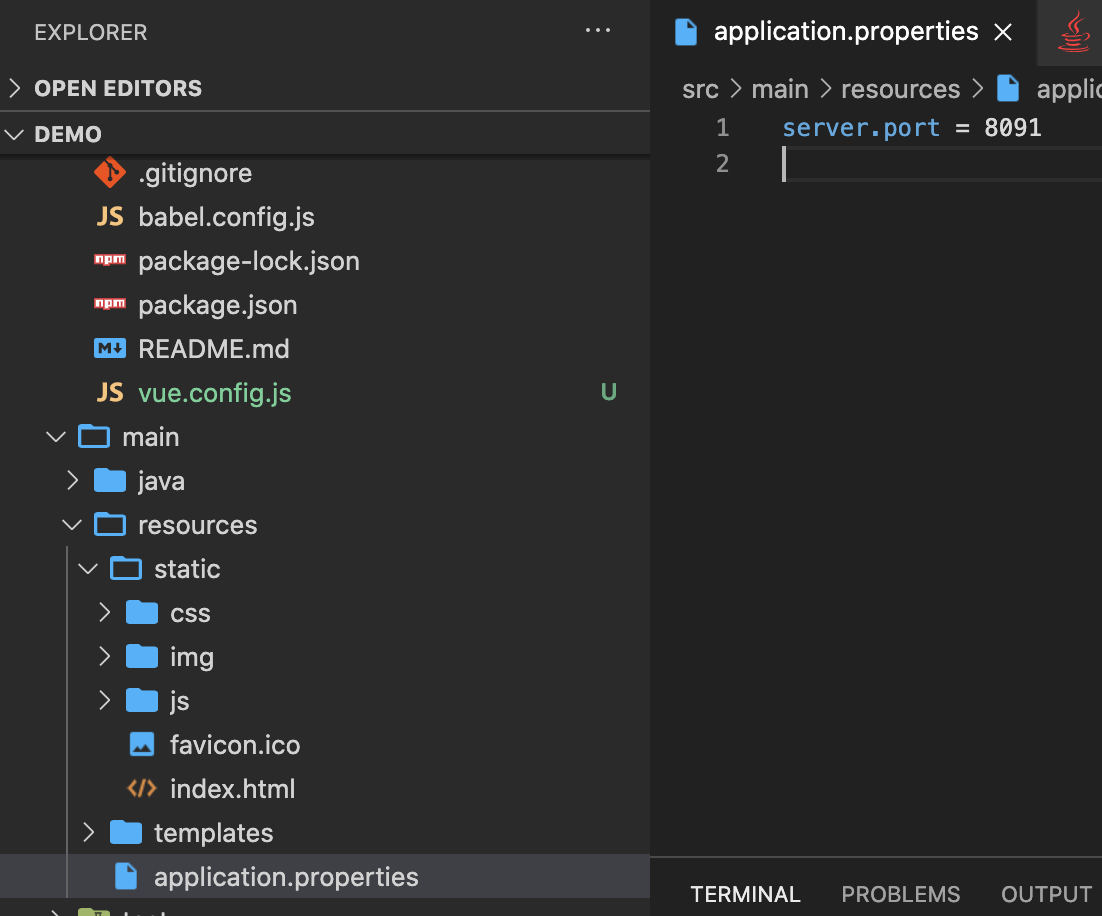
지정한 경로로 css, img, js 폴더, index.html 파일들이 생성된다.
module.exports = {
    outputDir: "../main/resources/static",
    indexPath: "../static/index.html"
}
스프링 다시 실행하고, 뷰도 다시 실행한다
./mvnw spring-boot:run
npm run serve필자는 터미널 오른쪽에 이렇게 띄울 수 있는 것으로 진행하고 있었다.
스프링을 실행하면 포트가 겹친다고 나오는데 그러면 바꿔주자.
뷰 실행 후 보여지는 주소로 접속해본다


쨘
Reference
Vue CLI + Spring Boot 연동하여 환경 구축하기
Vue CLI + Spring Boot 연동하여 환경 구축하기 프론트엔드는 Vue.js로, 백엔드는 Spring Boot를 이용해서 프로젝트를 진행하려고 한다. 스프링에서 Jsp를 통해 view를 구축해봤지만, 이번엔 Vue.js를 활용.
kim6394.tistory.com
[Node.js] TIP: Node.js 와 NPM 최신버전으로 업그레이드 하기 | VELOPERT.LOG
이번 포스트는 기존에 node.js 가 설치 되어있는 상태에서 Node.js 와 NPM 을 최신버전으로 업그레이드 하는 방법에 대한 팁 입니다. 주의: 일부 모듈에선 v6.0.0 을 지원하지 않습니다. # Node.js 업그레
velopert.com
'개발' 카테고리의 다른 글
| vs code + spring boot + vue.js 설치 가이드 (4) - 부트스트랩 (0) | 2020.11.19 |
|---|---|
| vs code + spring boot + vue.js 설치 가이드 (3) - 프록시 설정 (0) | 2020.11.19 |
| vs code + spring boot + vue.js 설치 가이드(1) (0) | 2020.11.18 |
| mxnet graphviz view() 오류 (0) | 2020.06.19 |
| __acrt_first_block == header (0) | 2020.06.10 |
web-inf 폴더 만들고 거기에 하도록 해야하는데 그건 조금 있다가 설정하고 일단 vue.js 를 빨리 붙여봐야겠다.
설치
4. vue-cli
vscode 에서 view > terminal 에서 아래 명령어 입력하여 설치
(1) 에서 설치한 npm을 이용한다.
npm i -g @vue/cli업데이트 하라고 해서 해준다.
npm, node 업데이트 해줘라
$ npm i -g npm
$ node -v
$ sudo npm cache clean -f
$ sudo npm install -g n
$ sudo n stable
$ node -v
src 폴더 들어가서 vue 프로젝트 생성. 이름은 frontend 라고 했다
$ vue create frontend보여지는 대로 해본다
cd frontend
npm run serve
이제 빌드를 해본다
npm run build빌드까지 했다
frontend 폴더 하위에 vue.config.js 파일을 아래의 내용으로 만든 후 다시 빌드하면
지정한 경로로 css, img, js 폴더, index.html 파일들이 생성된다.
module.exports = {
    outputDir: "../main/resources/static",
    indexPath: "../static/index.html"
}
스프링 다시 실행하고, 뷰도 다시 실행한다
./mvnw spring-boot:run
npm run serve
필자는 터미널 오른쪽에 이렇게 띄울 수 있는 것으로 진행하고 있었다.
스프링을 실행하면 포트가 겹친다고 나오는데 그러면 바꿔주자.
뷰 실행 후 보여지는 주소로 접속해본다
쨘
Reference
Vue CLI + Spring Boot 연동하여 환경 구축하기
Vue CLI + Spring Boot 연동하여 환경 구축하기 프론트엔드는 Vue.js로, 백엔드는 Spring Boot를 이용해서 프로젝트를 진행하려고 한다. 스프링에서 Jsp를 통해 view를 구축해봤지만, 이번엔 Vue.js를 활용.
kim6394.tistory.com
[Node.js] TIP: Node.js 와 NPM 최신버전으로 업그레이드 하기 | VELOPERT.LOG
이번 포스트는 기존에 node.js 가 설치 되어있는 상태에서 Node.js 와 NPM 을 최신버전으로 업그레이드 하는 방법에 대한 팁 입니다. 주의: 일부 모듈에선 v6.0.0 을 지원하지 않습니다. # Node.js 업그레
velopert.com
'개발' 카테고리의 다른 글
| vs code + spring boot + vue.js 설치 가이드 (4) - 부트스트랩 (0) | 2020.11.19 |
|---|---|
| vs code + spring boot + vue.js 설치 가이드 (3) - 프록시 설정 (0) | 2020.11.19 |
| vs code + spring boot + vue.js 설치 가이드(1) (0) | 2020.11.18 |
| mxnet graphviz view() 오류 (0) | 2020.06.19 |
| __acrt_first_block == header (0) | 2020.06.10 |